Wood Bathroom Vanity
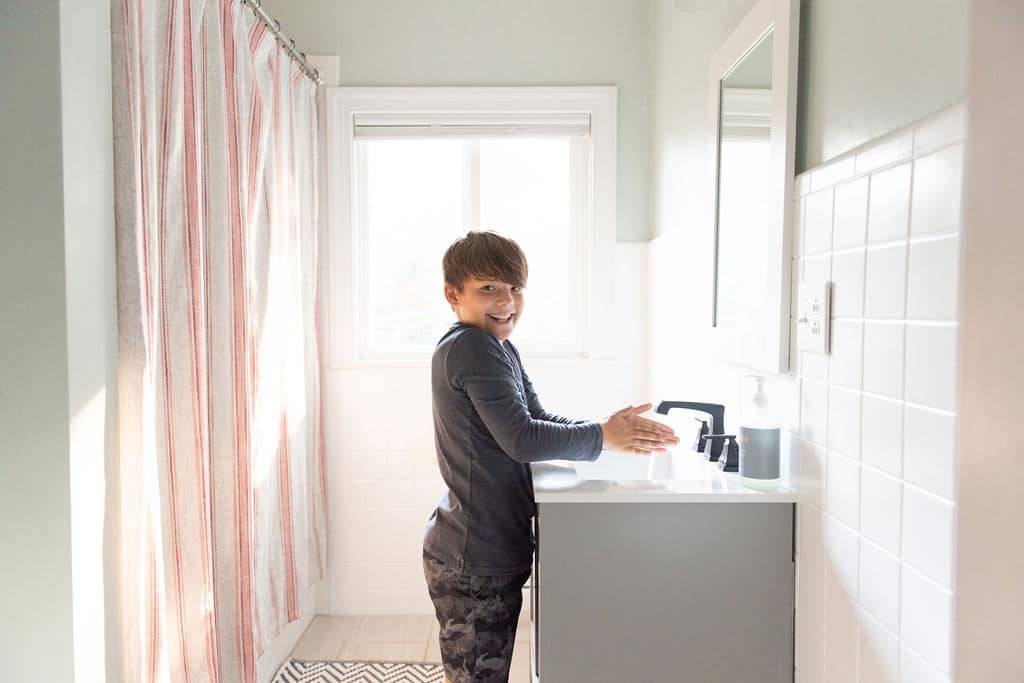
We recently upgraded the kids' bathroom vanity in our main floor bath and are so much happier with how it looks! Here's the before, during, and after of the process, which included plumbing and painting tile.
Kids Bathroom Vanity Reno
We recently updated our main floor bathroom that is sandwiched between the children's rooms (we don't have a powder room). So while it has to be practical for them to use, we also wanted it to look a little nicer for guests. We took out the crumbling vanity with its granite top and stainless faucet and upgraded to a much prettier gray vanity with matte black hardware and a matte black faucet. And finally, we had the tile painted a fresh, bright white.
Vanity Before
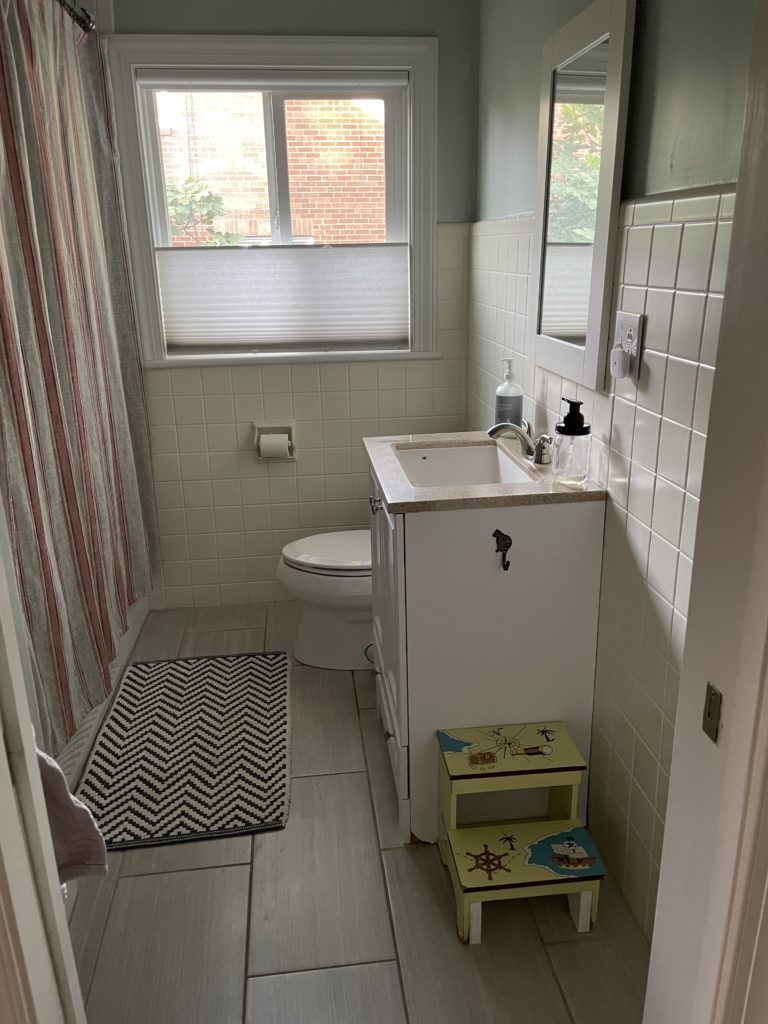
Thomas likes to say that our house is filled with "the Lowe's special." Recall that the house was renovated by a flip investor and I bought it not knowing a thing about quality. Everything looked new to me. Thomas, who does renos and new builds day in and day out, has a much keener eye for the finer details. So we are slowly chipping away at upgrading some of the cosmetic items in our house, from exterior doors to vanities.
Note the corner on the floor where the wood had mildewed away from all of the splashing that comes from the kids' bathtub. And note the cat hook that was supposed to be a hand towel bar that no guest could ever find.
Before: Sink and Faucet
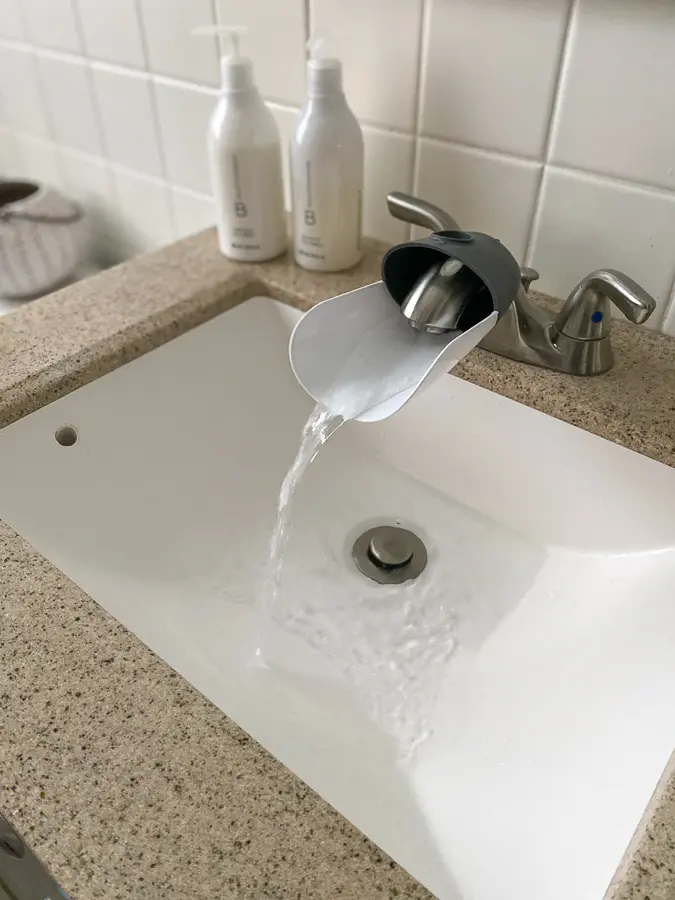
And here's a close-up of the sink and faucet back when we had the kid-friendly extender on for Birch before he could reach the sink. I really don't love all-in-one faucets!
Choosing A New Vanity
We actually bought another vanity for this room first. When it arrived, we knew we'd made a mistake because the vanity top wasn't attached to the base, and the whole thing was assemble yourself. So we sent it back and looked for something already built that had more of a furniture feel. We looked at tons and tons of varieties and just couldn't decide! We debated white bathroom vs. pop of gray vs. bold navy with gold hardware and went in circles for weeks.
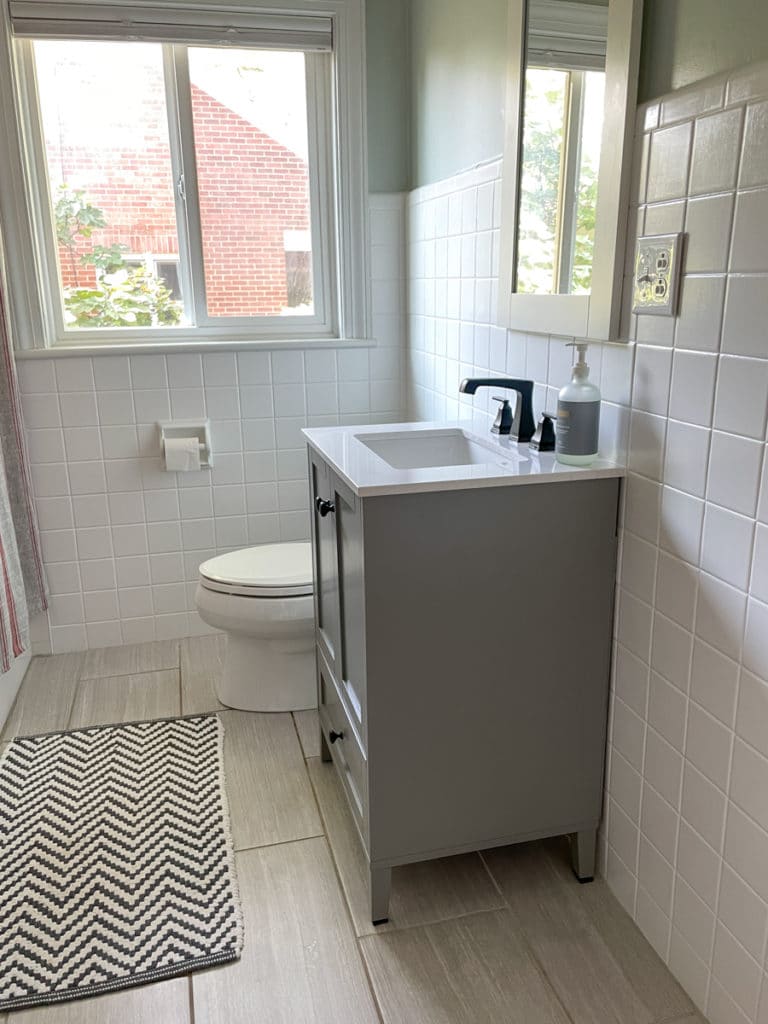
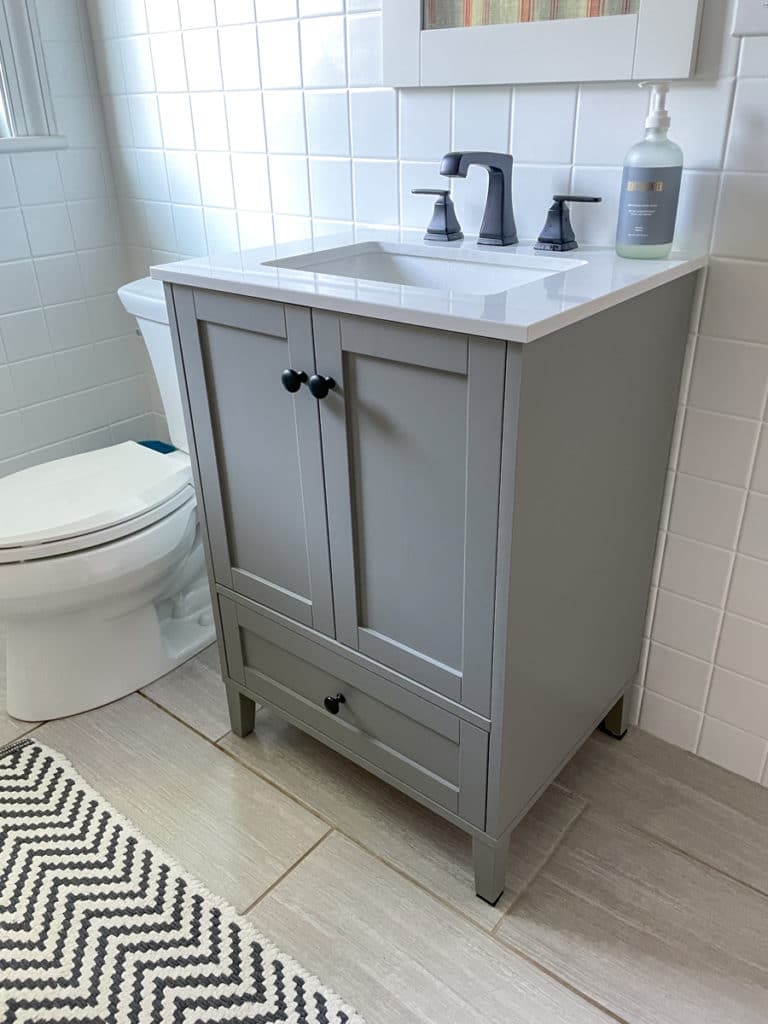
I'm not sure what bathroom designers would say about our choice, but I am happy with the end result! We chose the Moro 30″ Vanity at Pottery Barn. We decided to be a little bolder with the gray over a white vanity while not going totally bold with navy. (Even though 90% of our house is gray – lol!) I love that it almost looks muted purple in some light!
The Reno: During
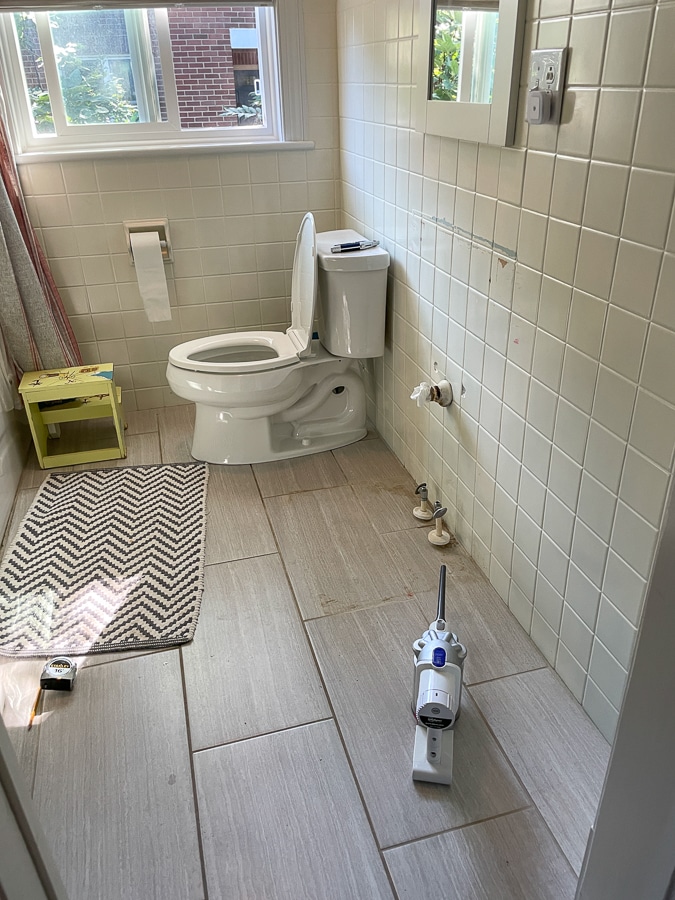
As far as bathroom remodels go, this one wasn't bad. We were out of commission for a day in between taking out the old vanity and the plumber installing the new faucet.
The vanity stayed in our living room and then Mazen's room for about a week while we got everything ready for install.
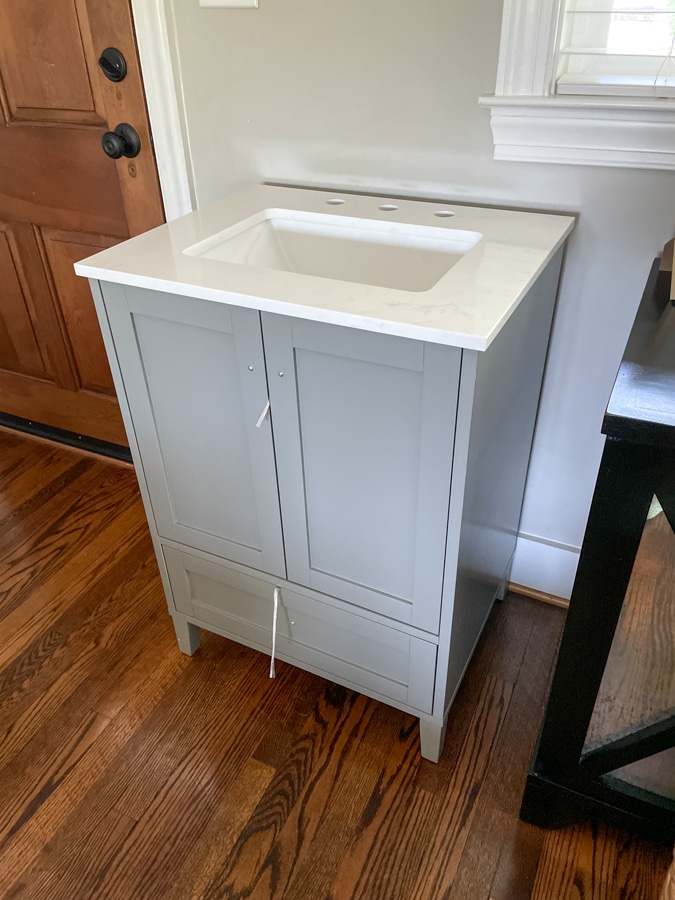
Taking out the old vanity
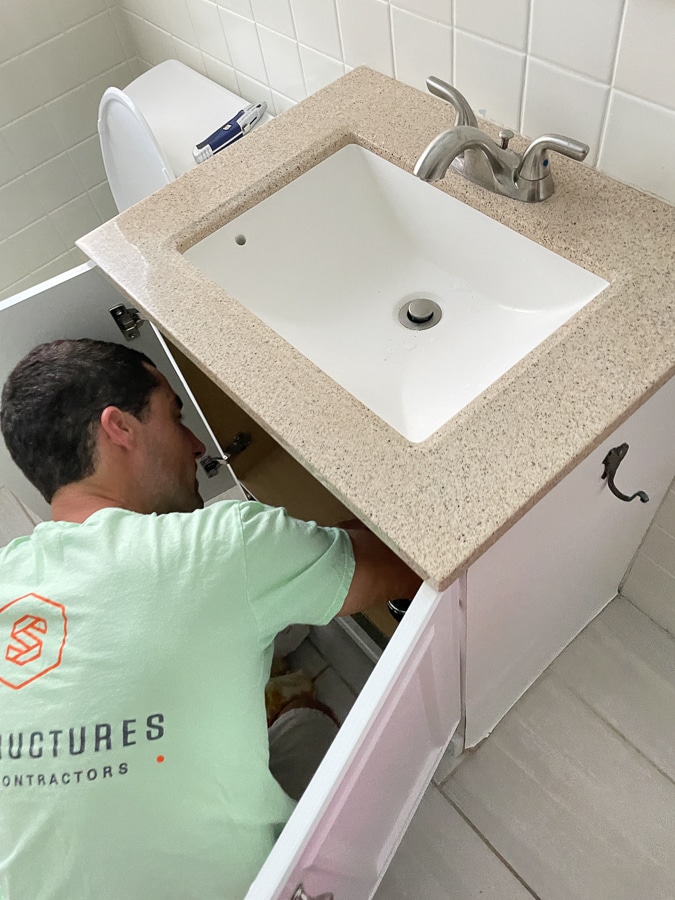
Looking empty!
Thomas drilled holes in the back for the plumbing and then he had me help set it over those pipes. That thing was HEAVY and we barely got it on! Then we had his plumber come and do the hook ups. (I'm sure Thomas could have figured it out, but he lets the tradesmen do what they do best!)
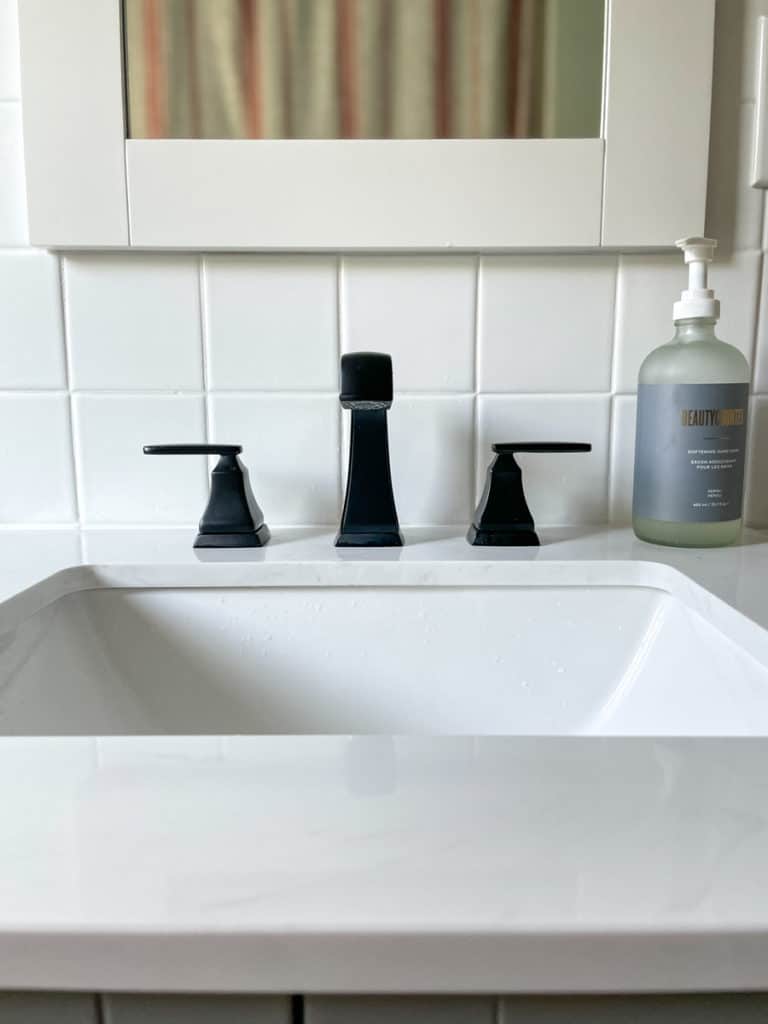
The New Faucet
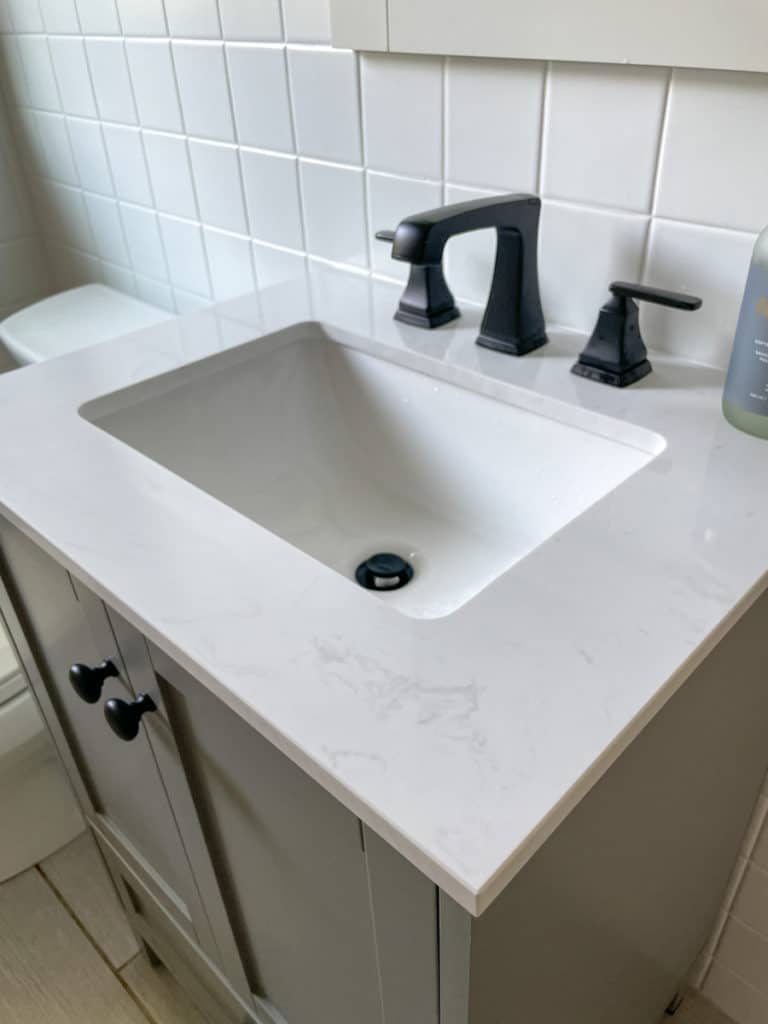
The faucet was an easy choice! We went with Delta Faucet Ashlyn in a matte black. I love it! The height of the faucet and the depth of the sink are so much improved from the previous one.
Painting The Tiles
You can see that our bathroom tiles were once blue and were painted white when the previous owner updated the home. The old vanity's silicone glue ripped the paint a little along the top edge. This is one of those "open a can of worms" things that we didn't anticipate. But also, once we got the new white quartz vanity top installed, the tiles looked SO YELLOW. We knew a fresh coat of paint was the next step.
This is the paint we used for the tiles.
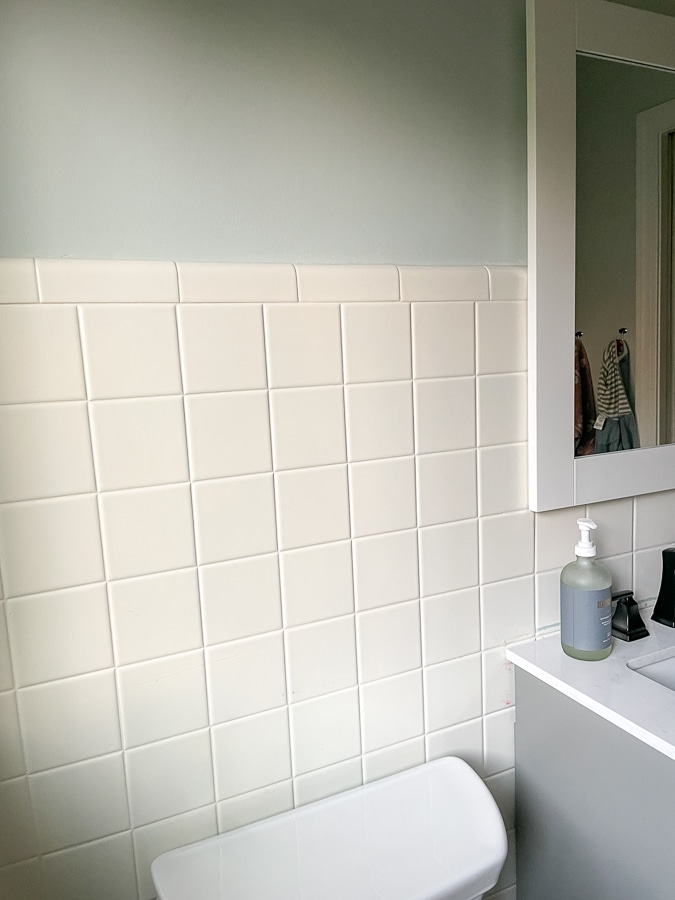
The wall paint color is Valspar Winter in Paris.
After: The New Vanity!
She looks sharp!! And the white tiles look so much crisper.
Tile Paint
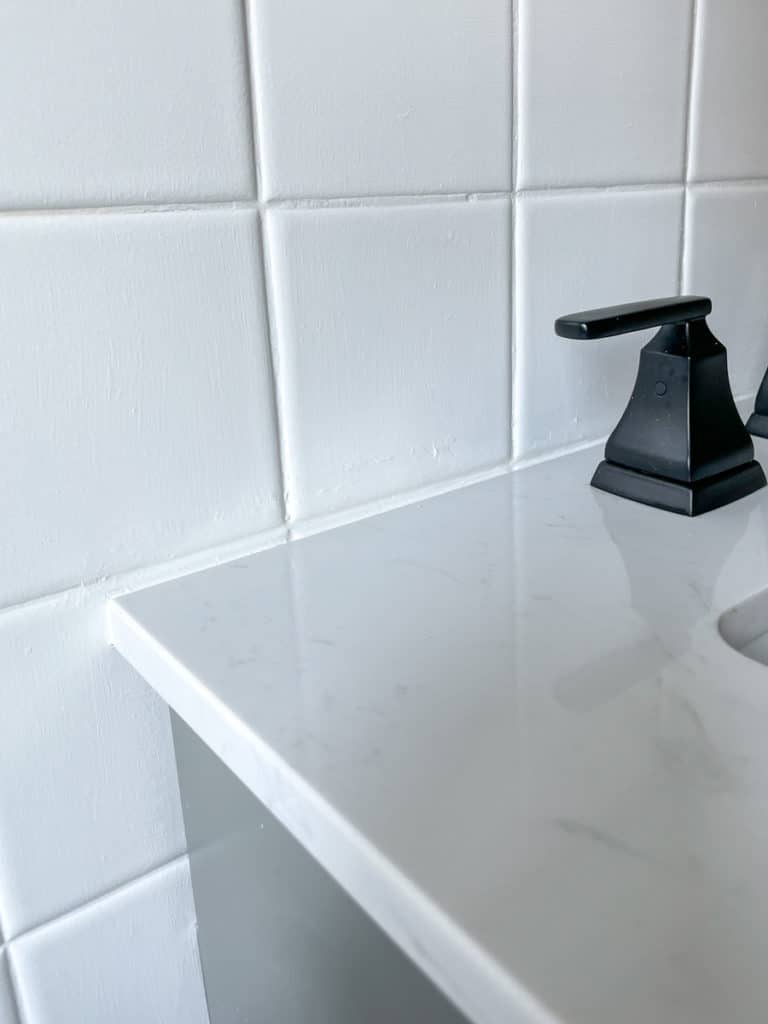
The tiles are not perfect due to sanding being challenging on an already-painted product, but you can't really see the texture from above.
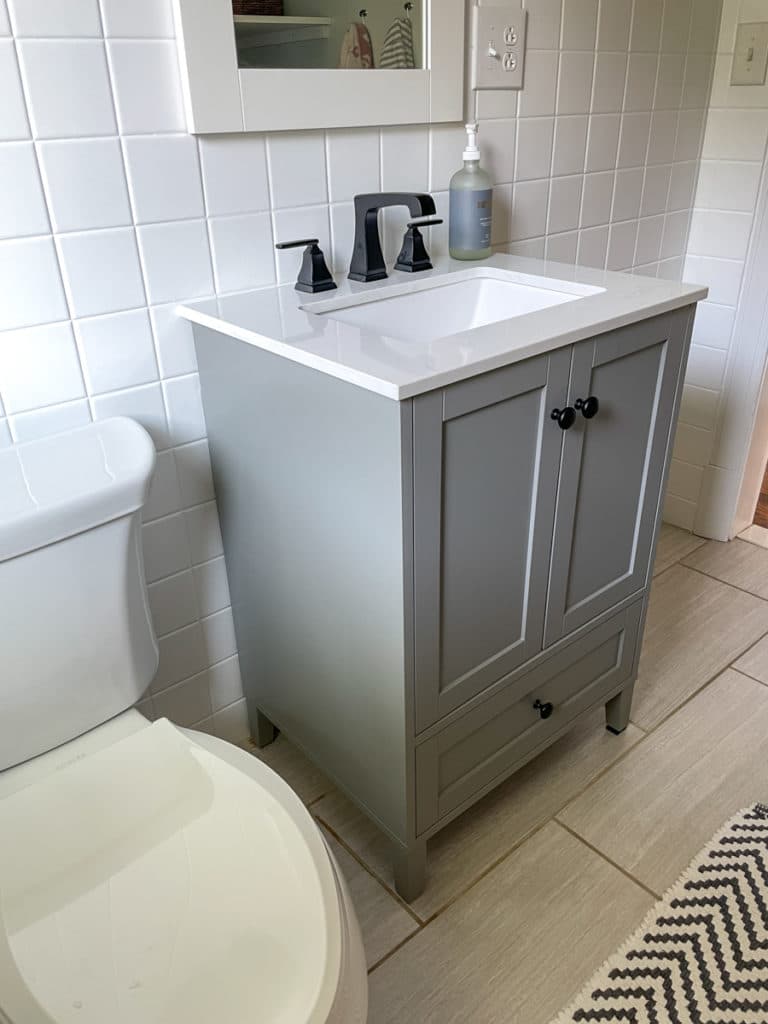
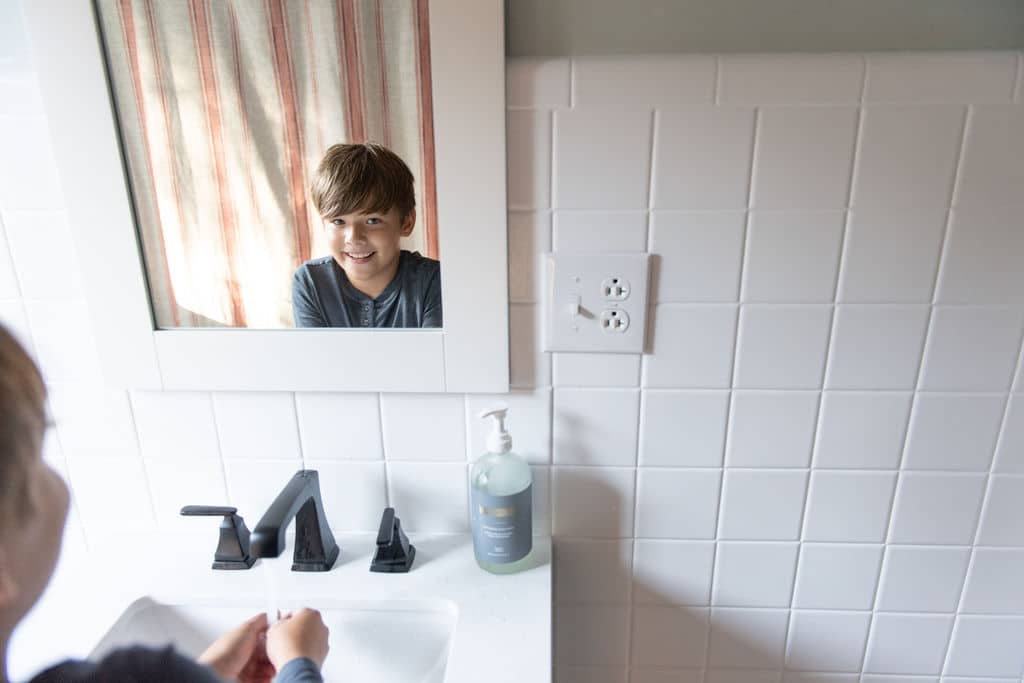
Before And After
Note our little step stool usually lives on the side for Birch to use.
The rug is Nate Berkus for Target. Similar options here. The shower curtain is also Target. Similar here.
Bathroom Vanity Installation Tips
Make sure your vanity is already assembled
We knew we wanted a solid piece and made the dumb mistake of ordering one that was particleboard the first time. Not having to worry about screws or gluing the top on made this process so much easier.
You'll need at least two strong adults to place the vanity over the plumbing, but three would be better
Looking back we should have asked a friend to help us because the two of us trying to place a heavy piece perfectly over two plumbing pipes was really really hard. I was so worried Thomas was going to drop the vanity on my hands as I guided it into the holes! Alas we did it with no trouble, but having three people help place the vanity would have been much easier.
Prepare to open a can of worms
One more detail to mention is that our shower/bath tile is actually new and a slightly different shade of white. It is not a perfect match for our new paint color. We matched the vanity top (which you see) instead of the tub tile (which is hidden by the curtain). There is now a line where the tub tile meets the painted tile that wasn't as obvious before with the old paint color. While I would love for it all to match, we aren't going to rip out or paint new tile, so it will have to stay for now. Luckily the shower curtain hides the transition well.
We can't drill into the tile for a hand towel bar
Well we CAN but we are choosing not to for fear of it cracking, so I added a sticky black matte command hook to the tile to serve as a hand towel bar for now. The kids usually just use their bath towels to dry their hands because they are lower and in reach.
Choose a vanity with a drawer!
I much prefer to use a drawer to store extra Who Gives A Crap toilet paper than have a tower of rolls in the cabinet.

More like this:
Mini Kitchen Reno at my old house
Finishing our basement fitness room
The porch reveal
Source: https://www.katheats.com/kids-bathroom-vanity

0 komentar:
Posting Komentar